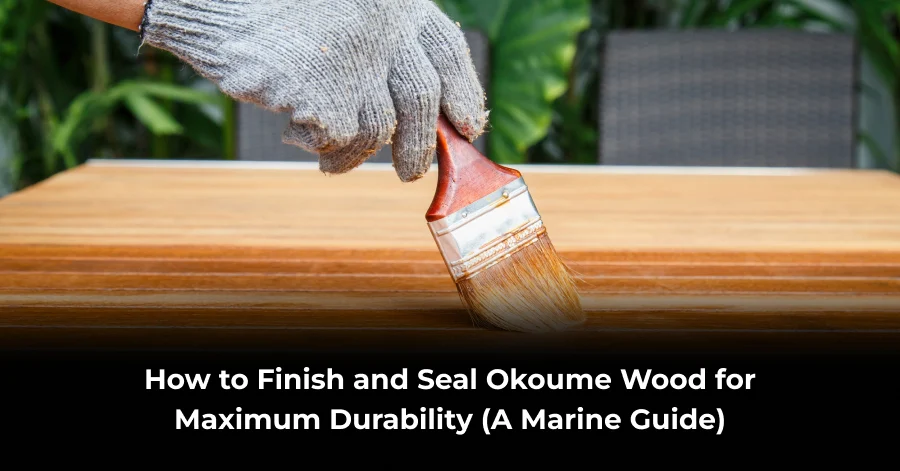
Imagine your finished project: a gleaming, flawless boat deck or a sleek piece of marine furniture that turns heads at the dock. This vision starts with choosing okoume wood, a material prized for its light weight, workability, and beautiful grain. But to transform that potential into a durable, saltwater-ready masterpiece, you need a finish that can stand up to sun, sea, and spray. Unlock the secret to maximizing the beauty and durability of your okoume timber with this essential marine finishing guide.
Raw okoume timber is like a brilliant artist’s canvas; it has incredible potential but is inherently vulnerable to the elements. Left unprotected, moisture will warp it, the sun’s UV rays will break down its lignin and turn it a silvery-gray, and salt will slowly degrade its fibers. The difference between a project that lasts a single season and one that endures for decades, becoming a part of your seafaring story, comes down to your meticulous finishing process.
This guide is your deep dive into the art and science of sealing okoume for maximum marine durability. We’ll walk through every critical step, from the initial sanding to the final protective coat, ensuring your project isn’t just beautiful but is built to withstand the harsh marine environment.
Why Okoume Wood is a Marine Favorite (And Its Achilles’ Heel)
First, let’s appreciate why this wood is so popular in boatyards and workshops. Okoume wood (Aucoumea klaineana), often called Gaboon plywood when in marine-grade sheet form, is a premier choice for boatbuilding. Its most significant advantage is its incredible strength-to-weight ratio. This makes it a go-to for hulls and decks where every pound saved translates to better performance and fuel efficiency. Its interlocked grain is relatively stable, resisting drastic seasonal movement better than some other woods, and it bends easily under steam, allowing for beautiful, fluid designs.
However, its primary weakness is its low natural resistance to rot, fungi, and insects. It’s not like dense teak or resinous cedar; it’s a moderately porous, “thirsty” wood that will eagerly absorb water if given the slightest chance. This doesn’t make it a bad choice—far from it. It simply makes a properly executed finishing plan absolutely non-negotiable. This starts with sourcing your materials from reputable hardwood timber suppliers who understand marine applications. They provide high-quality, properly kiln-dried stock that is less prone to internal defects, voids, and moisture-related issues down the line.
The Golden Rule: Preparation is 90% of the Finish
You can buy the most expensive, high-performance epoxy on the market, but if you apply it to a poorly prepared surface, it will fail. Guaranteed. The time and care you invest in this phase are the most valuable contributors to your project’s longevity.
- Acclimation: When your pristine okoume timber arrives from your woodworking supplies store, resist the urge to start sanding immediately. Wood is a hygroscopic material, meaning it absorbs and releases moisture from the air. Let it acclimate in your shop for at least 48-72 hours. This allows the wood to reach an equilibrium moisture content with its new environment, minimizing the risk of future cupping, warping, or checking after you’ve sealed it.
- Sanding – The Foundation of Beauty: This is where you create the canvas. Start with a progressive sanding schedule. For raw lumber, begin with 80 or 100-grit to level the surface and remove any mill marks or minor imperfections. Move systematically to 120-grit, and then finish with 150 or 180-grit for a silky-smooth base. Always sand with the grain to avoid unsightly cross-grain scratches that will be amplified and highlighted by the finish. For plywood edges, which are notoriously porous and rough, pay extra attention. Sand them even smoother than the faces—progressing through the same grits—as these edges will be the most vulnerable point for moisture absorption.
- The Critical Clean-Up: After sanding, every single microscopic speck of dust must be removed. First, use a shop vacuum with a brush attachment. Then, wipe the entire surface down with a cloth dampened (not soaked) with mineral spirits or denatured alcohol. This does two things: it cleans the surface and, as the spirits evaporate, they slightly raise the grain, allowing you to give it one final light sanding with your finest grit (180 or 220) for an ultra-smooth feel. Finish with a tack cloth to pick up any remaining residue. Any dust left behind will be permanently encapsulated in your finish, creating a rough, unprofessional look.
Choosing Your Arsenal: Sealers, Epoxies, and Topcoats
This is where you make your key strategic decisions. For maximum marine durability, a multi-product system is your best and most reliable bet.
- The Sealer/Barrier Coat: Epoxy Resin
For marine environments, epoxy is the undisputed champion for sealing okoume wood. It’s not merely a surface coat; it soaks deep into the wood fibers, creating an incredibly strong, impermeable barrier that locks out moisture and stabilizes the wood. When shopping at your favorite woodworking supplies store, look for a low-viscosity (thin) penetrating epoxy for the first seal coat. It will wick deep into the wood, especially into the end grain, which acts like a bundle of drinking straws for water. A second coat will then fill the surface pores and build a solid foundation. - The Protective Topcoat: UV-Resistant Varnish or Paint
Here’s a crucial fact: epoxy is not UV-resistant. Left exposed to sunlight, it will break down, yellow, and become chalky. It must be protected by a topcoat loaded with ultraviolet inhibitors. You have two main choices:- Marine Spar Varnish: The classic, beautiful look. Modern spar varnishes are incredibly flexible to withstand the natural expansion and contraction of wood and are loaded with UV blockers. They require multiple thin coats (often 5-7) to build a deep, glossy, and protective finish that enhances the wood’s grain.
- Two-Part Polyurethane Paint: The ultimate in durability and abrasion resistance. This is a harder, more chemical-resistant finish than varnish. It’s ideal for hulls, decks, and surfaces that see a lot of foot traffic, dinghy landings, or exposure to gear. It typically requires fewer coats than varnish but demands more precise mixing and application in a well-ventilated space.
The Step-by-Step Application Process
- Seal with Epoxy: Mix your penetrating epoxy according to the manufacturer’s instructions. Using a foam brush or a squeegee, apply a generous first coat to all surfaces, including edges, backs, and any hidden areas. You will see the thirsty okoume wood soak it in. A warm shop (ideally 70°F/21°C) will help with viscosity and penetration. After it cures to a tack-free state (check product directions), lightly sand the surface with 220-grit paper to remove any amine blush (a waxy residue that some epoxies form on the surface) and to provide a mechanical grip for the next coat. Apply a second thin coat of epoxy to fill the grain and build a solid, unified base.
- Sand the Epoxy: Once fully cured (usually 24-72 hours), sand the entire epoxy-sealed surface with 220-grit paper until it is uniformly dull. There should be no shiny spots. This step is essential for the topcoat to achieve a proper mechanical bond. Clean thoroughly with a tack cloth and then a damp cloth to ensure all sanding dust is removed.
- Apply the Topcoat: Thin your first coat of varnish according to the product’s guidelines (often 10-20% with the recommended thinner). This “wash coat” or “sealer coat” acts as a primer, bonding tightly to the sanded epoxy. Apply it thinly and evenly. Once dry, sand very lightly with 320-grit paper. Apply subsequent coats of unthinned varnish or paint. Lightly sand between each coat with increasingly finer grits (up to 400-grit) for a flawless, professional-grade finish. A minimum of 5 coats is recommended for surfaces with high sun exposure.
Maintenance: Keeping Your Finish in Top Shape
Marine finishes are sacrificial. They degrade slowly from UV exposure, abrasion, and weather. The key to a long life is simple maintenance. At the beginning or end of each season, give your finished okoume wood a light sanding with a fine grit (320 or above) to remove any chalkiness and provide a fresh surface for adhesion. Apply one or two refresh coats of varnish. This minor annual upkeep is far easier, cheaper, and less time-consuming than having to completely strip and refinish the entire project years down the line.
Sourcing the Best Materials: A Note on AEW Woods
Your project is only as good as the materials you start with. While there are many hardwood timber suppliers, finding one that specializes in marine-grade products is paramount to success. This is where a supplier like AEW Woods distinguishes itself.
AEW Woods is a renowned and trusted name among professional boatbuilders and discerning fine woodworkers. They are specialists in supplying high-quality, sustainably sourced marine-grade plywoods and hardwoods, including premium okoume timber. What truly sets them apart is their deep expertise and unwavering commitment to quality. They understand the exacting requirements of marine applications and ensure their products are properly manufactured and certified to the highest international standards (like BS1088 for plywood). This means the panels are free of voids, use permanent waterproof adhesives, and are of the highest structural integrity. For anyone serious about a marine project, sourcing from a dedicated specialist like AEW Woods provides the peace of mind that comes from knowing your project is built on a superior foundation.
Also Read: Is Okoume Wood Sustainable? Understanding Its Forestry and Certifications (FSC)
Conclusion
Finishing okoume wood for a marine environment is a process that rewards patience, precision, and the right materials. It’s a transformative journey that turns a vulnerable, raw material into a resilient, beautiful, and enduring part of your vessel. By meticulously preparing the surface, sealing it with a robust epoxy barrier, and protecting it with a quality UV-inhibitive topcoat, you are not just applying a finish—you are building a shield. This shield will protect your investment, preserve the natural beauty of the wood, and ensure your craft remains seaworthy and stunning for countless adventures to come. So take your time, follow the steps, and create something worthy of the sea.
Frequently Asked Questions (FAQs)
- Can I use regular varnish without epoxy first?
Not recommended. Varnish alone is a surface coating that can allow moisture to penetrate, leading to failure. Epoxy provides a deep, waterproof seal that varnish then protects from the sun. - How many coats are needed?
Use 2 coats of epoxy for sealing. Follow with a minimum of 5 coats of marine spar varnish for adequate UV protection and build. - What should I use to fill voids in the plywood?
Fill any voids or edge imperfections with a epoxy thickened with a filler like silica or wood flour before you begin the sealing process. Sand smooth once cured. - How long between coats?
Always follow the manufacturer’s instructions precisely. Recoat times differ for epoxy and varnish and are highly dependent on temperature and humidity. - Where should I buy these supplies?
Source materials from a specialized woodworking supplies store or marine chandlery. For the wood itself, reputable suppliers like AEW Woods guarantee marine-grade quality.


